If you’ve been reading Splendid Market for awhile, you know how much love flowers and arranging them using my simple 1~2~3 technique. There are so many blossoms in bloom right now I thought I’d do a little review to inspire you to bring some of that summer beauty into your abode with ease for the weekend.
Over the years I’ve developed this three step process and it allows me to make an attractive, complex, full looking bouquet with ease every time, no matter the size or shape of the container. Today I thought I’d show you how I applied this technique to make 3 rustic arrangements for an informal gathering featuring the vibrant Dahlia’s blooming in the garden right now.
My vision was to create arrangements that look similar, but for each one to be somewhat unique. I’m was going for a natural, garden look, so I wanted to create a shape that is a little irregular… balanced, but not perfectly symmetrical.
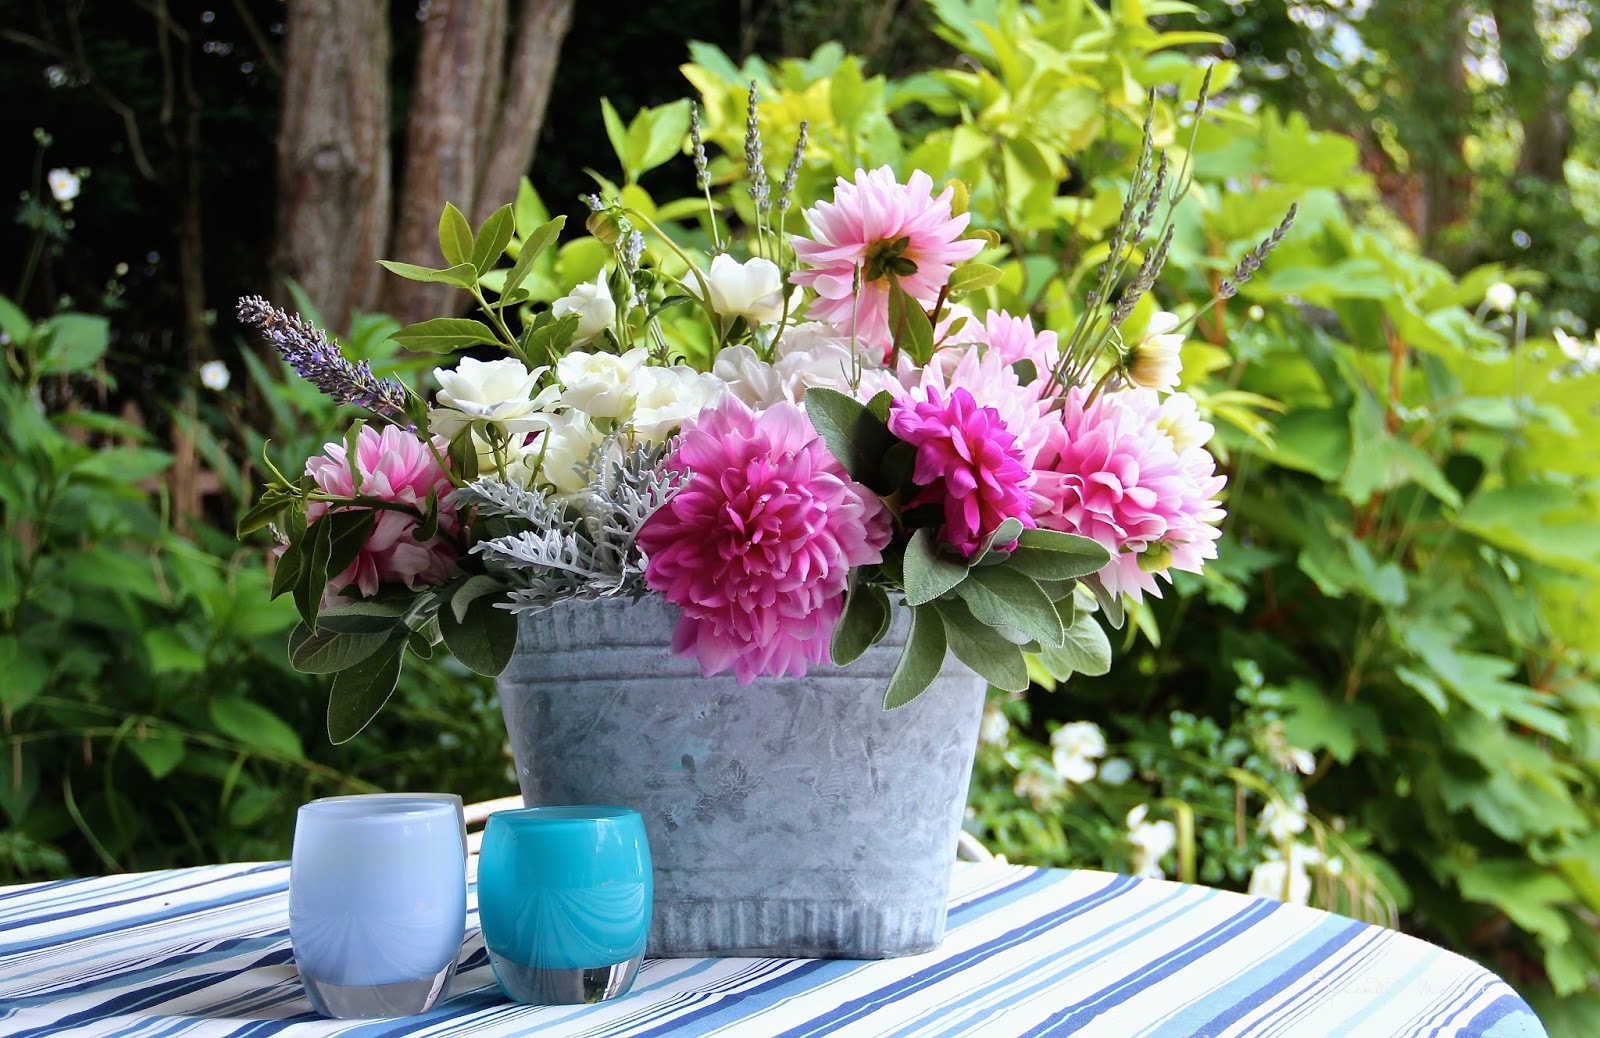
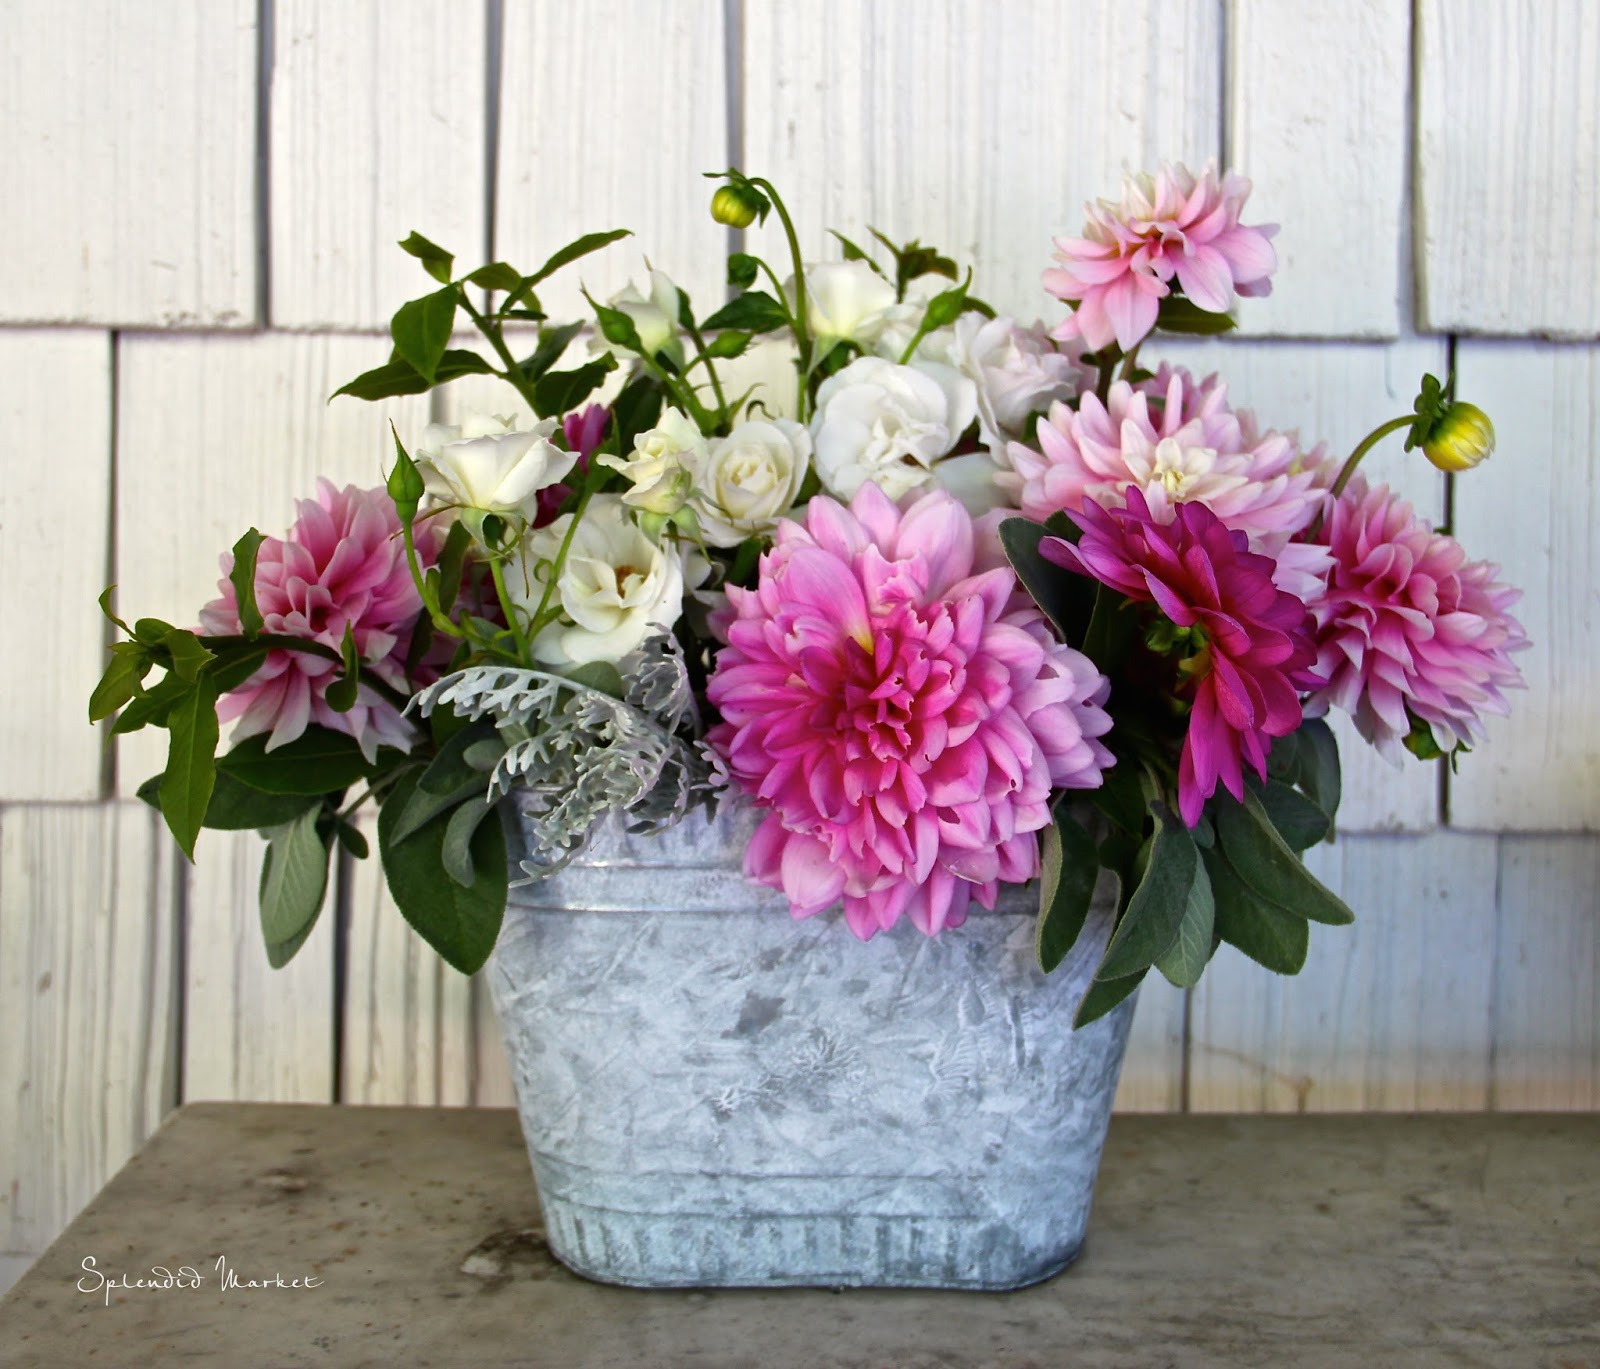
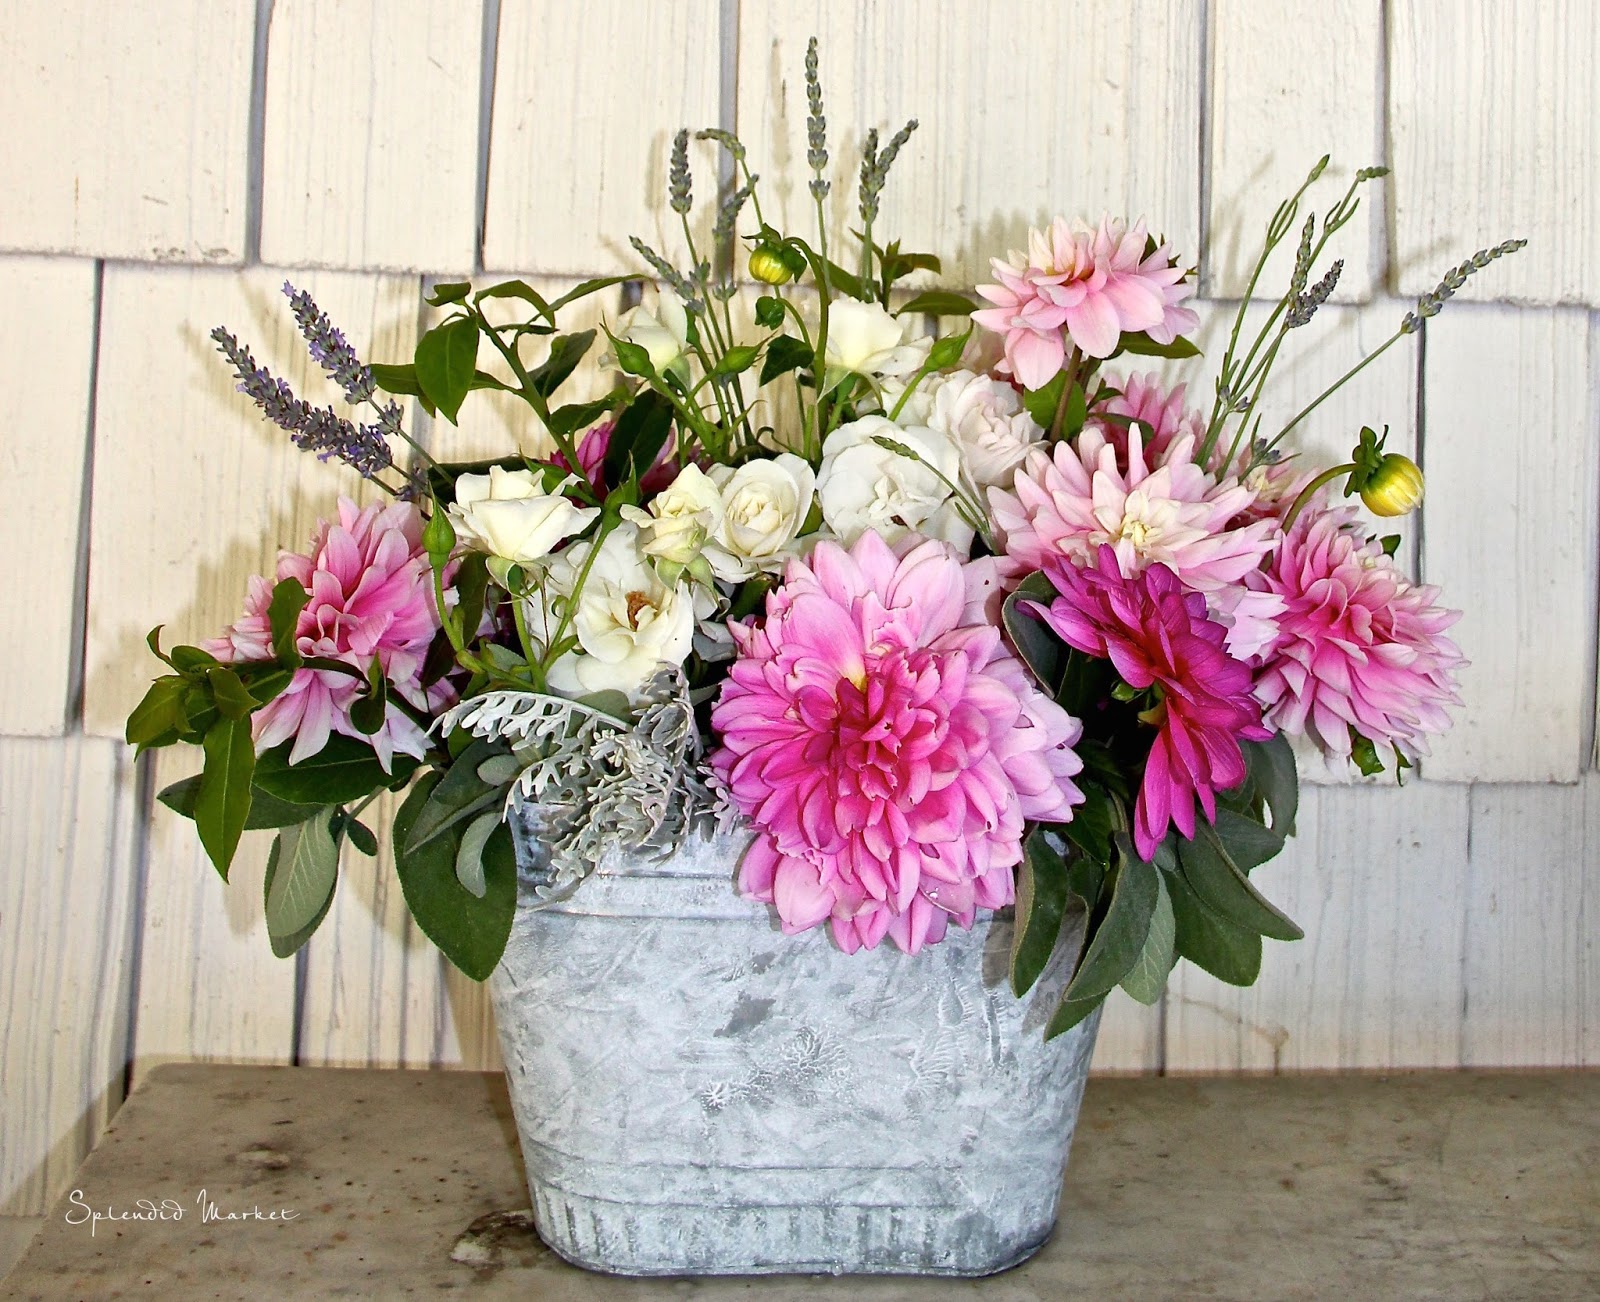
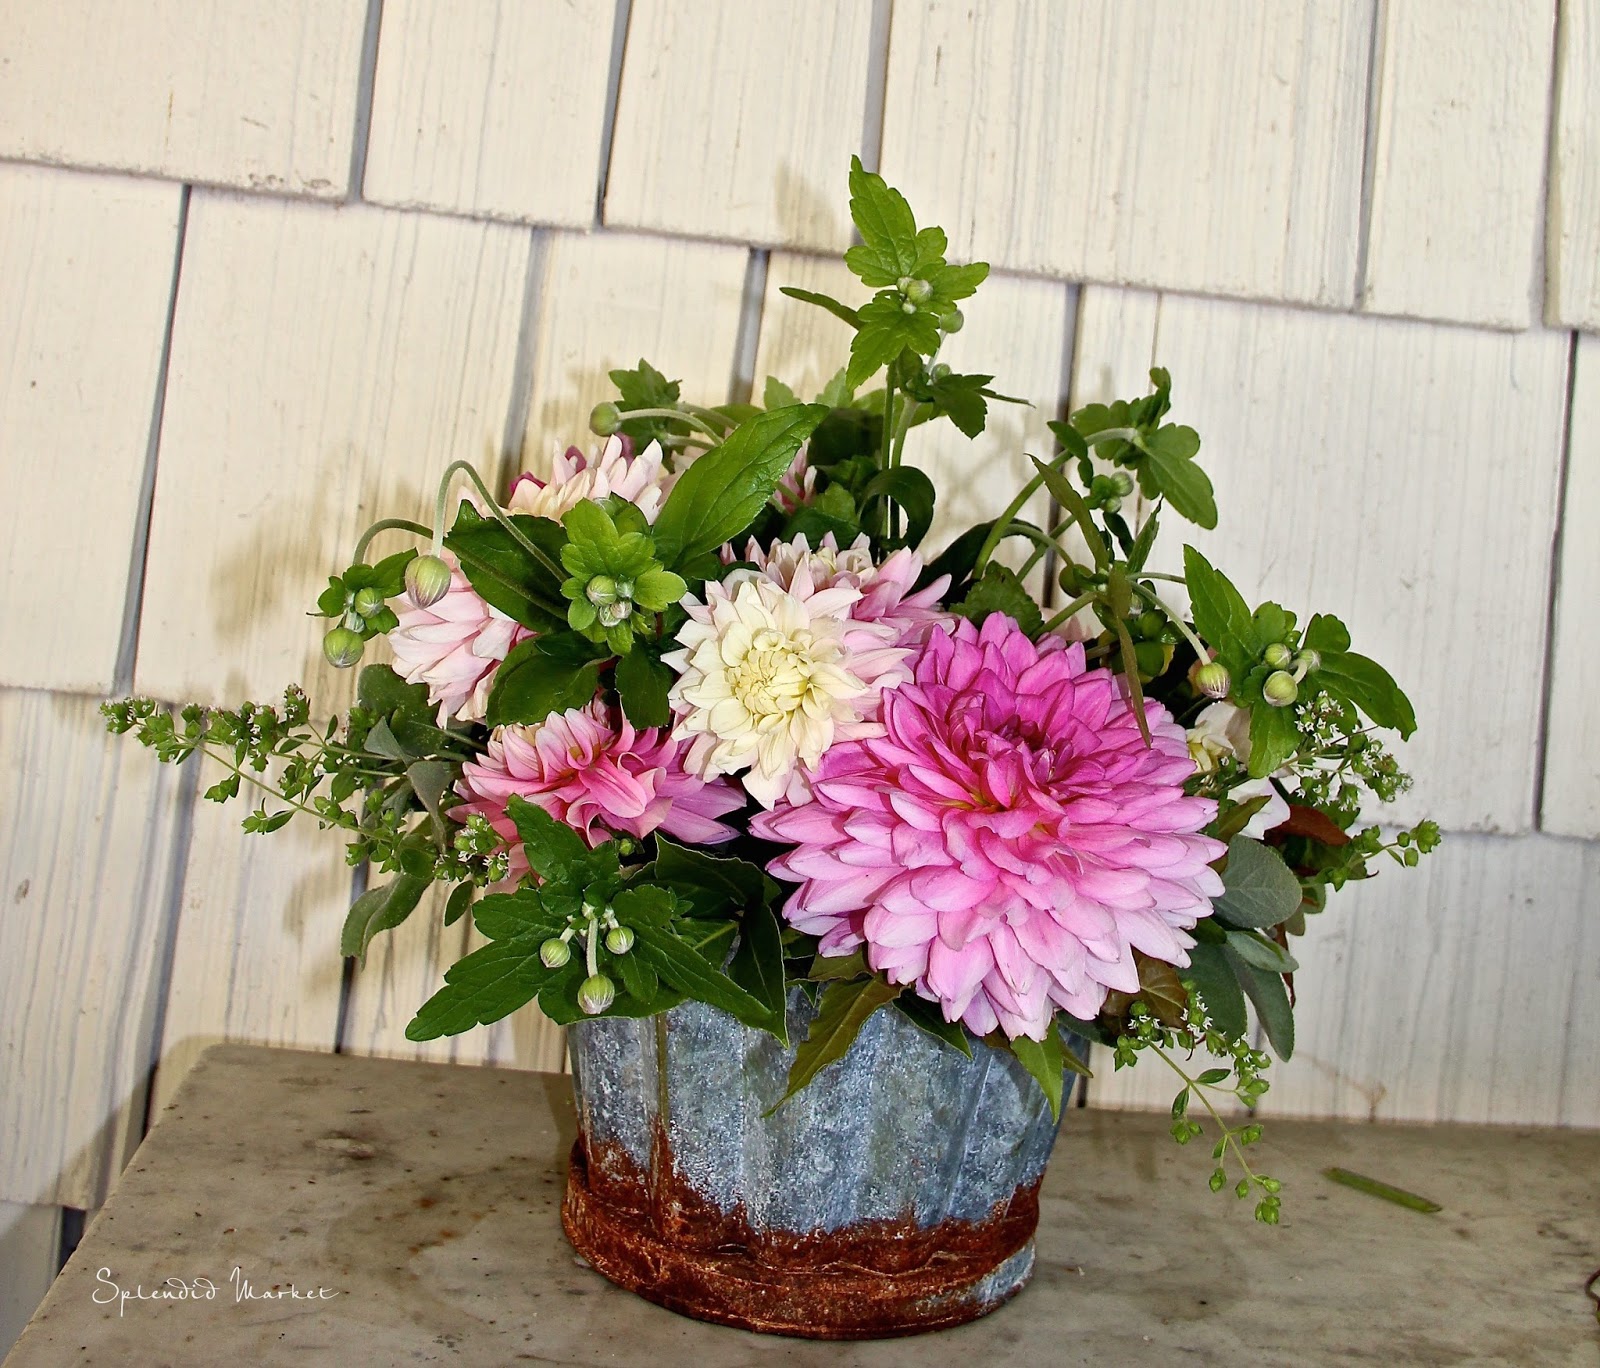
The bouquet above is the largest of the 3, I made it for the round table that held appetizers and desserts.
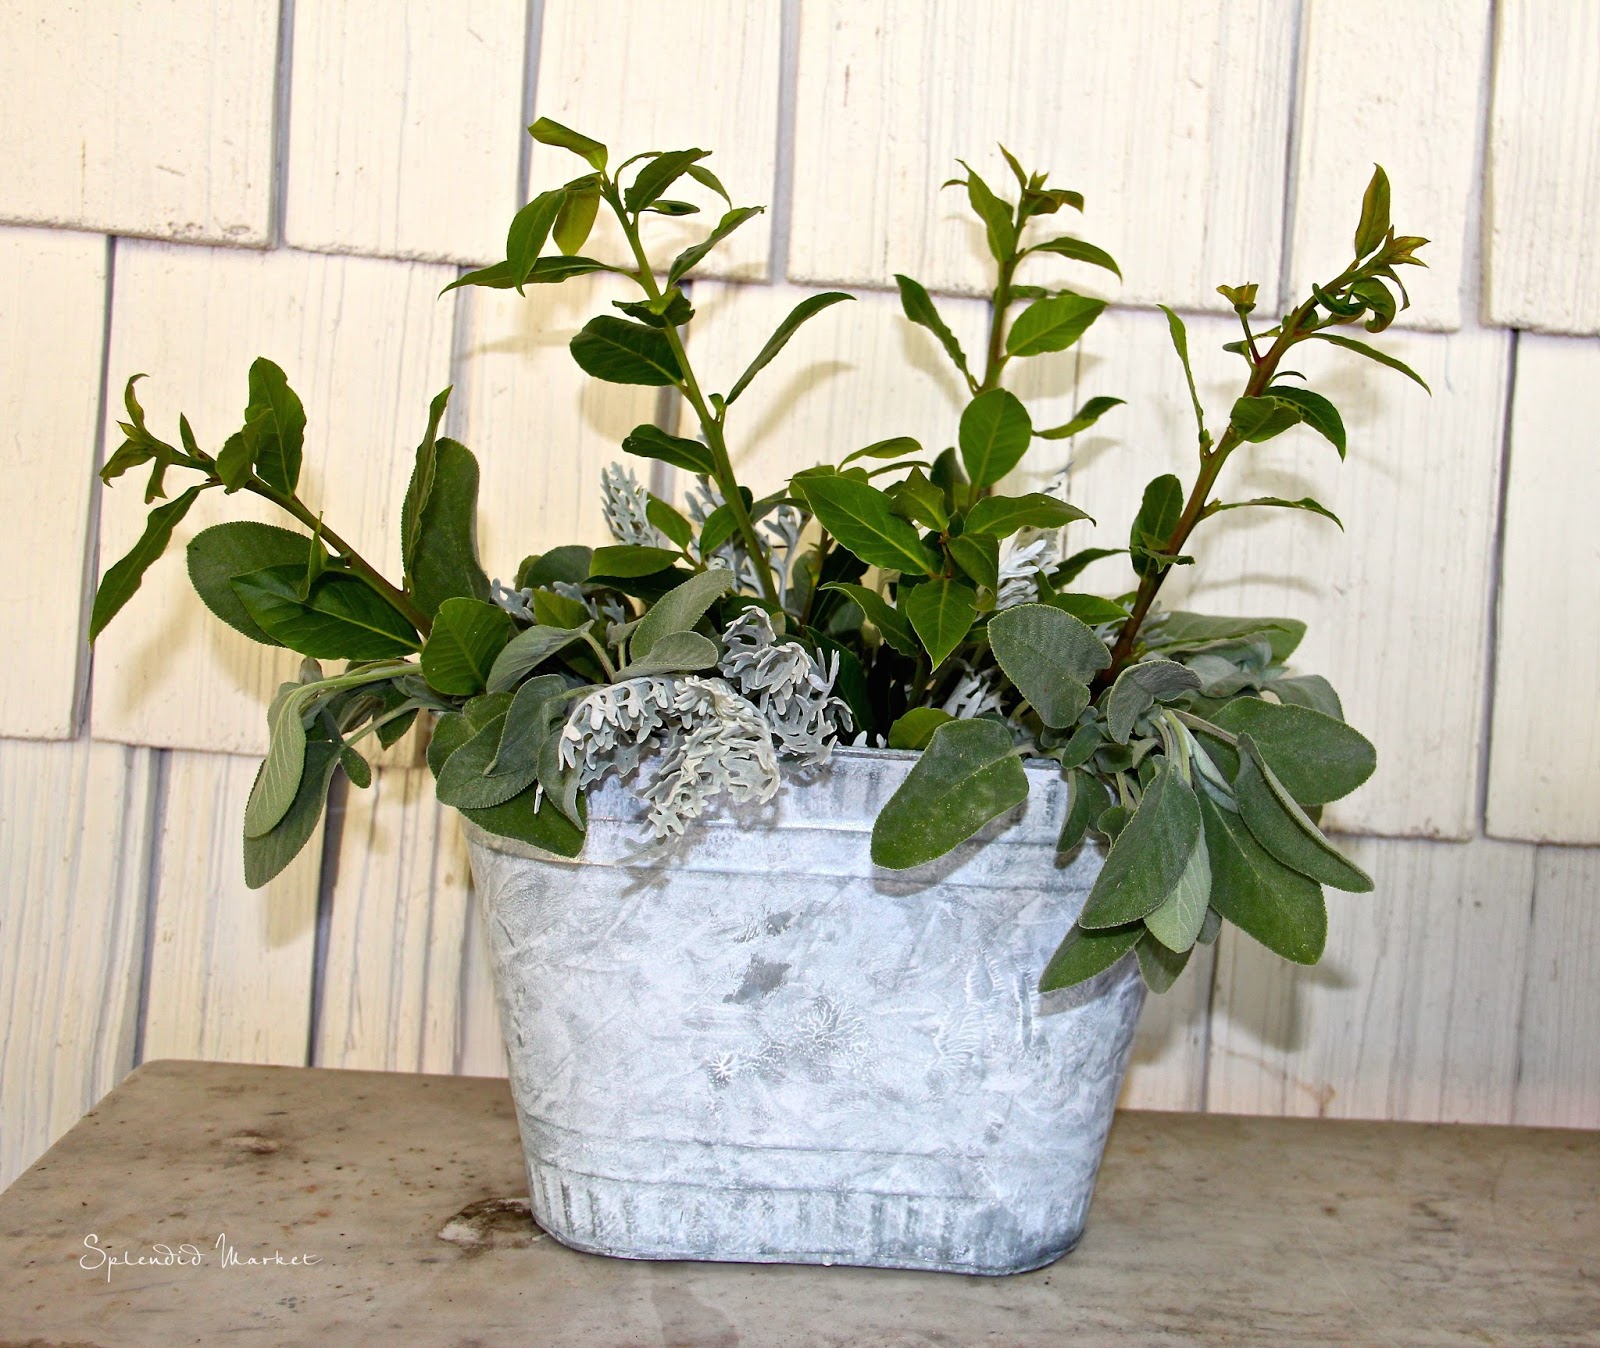
Step 1: Greenery
In this oval shaped zinc bucket I used branches of Sage, Dusty Miller and some taller branches of Bay Laurel to fill the container and outline the shape of the bouquet. I find bouquets look best if you use at least 3 different varieties of greens. The different shades and textures add to the complexity of the arrangement.
Step 2: Predominant Flowers
Next, I filled in the spaces between the greens with my core flowers, threading the stems between the greens for support. Here I am using a variety of pink dahlias, dahlia buds and sprigs of white roses. I am purposefully leaving some of the buds and blooms a little higher because I want this to look more natural and garden~like. Another nod to nature is keeping the sprigs of white roses together, as they would look in the garden. If I were going for a more formal, symmetrical look, I’d have the white roses more evenly distributed throughout the bouquet.
Step 3: The Accent
Finally, I like to add something to the arrangement that pops out a little, something that is unexpected perhaps {think of berries, fruit branches, moss covered branches, shapely sticks}. In this case I added clumps of lavender.

Keeping bunches together so they look as they do in nature.
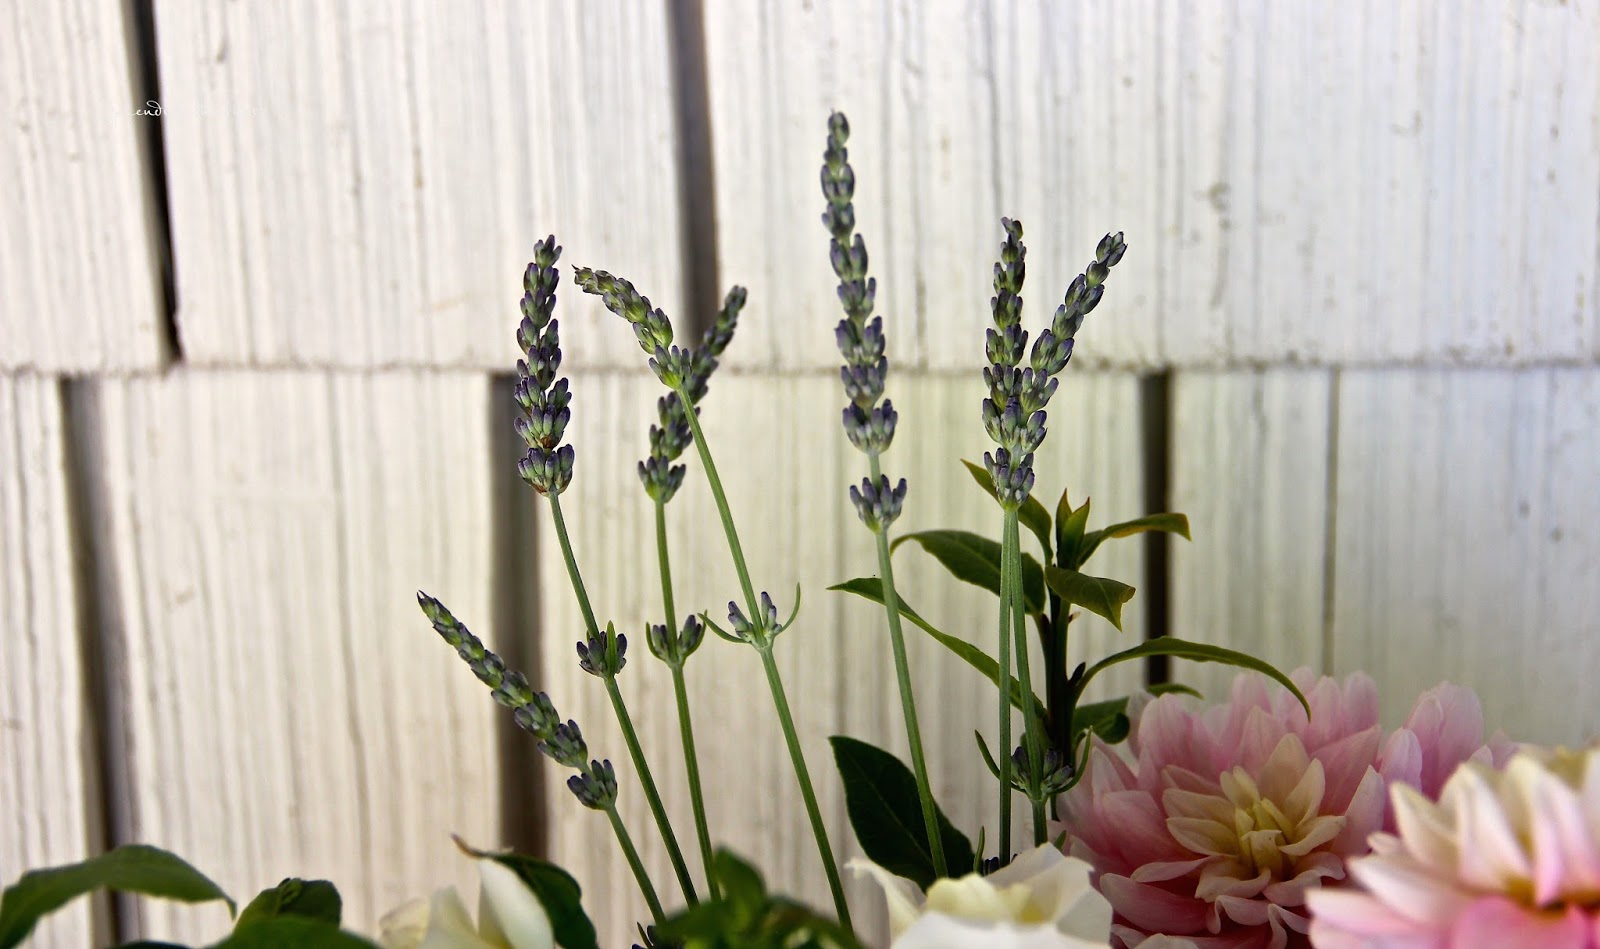
In this case, again, I’m deliberately creating somewhat of an irregular shaped garden bouquet. If I were creating a more formal, symmetrical bouquet I would space out the lavender stems so that they were evenly distributed between the larger blooms.
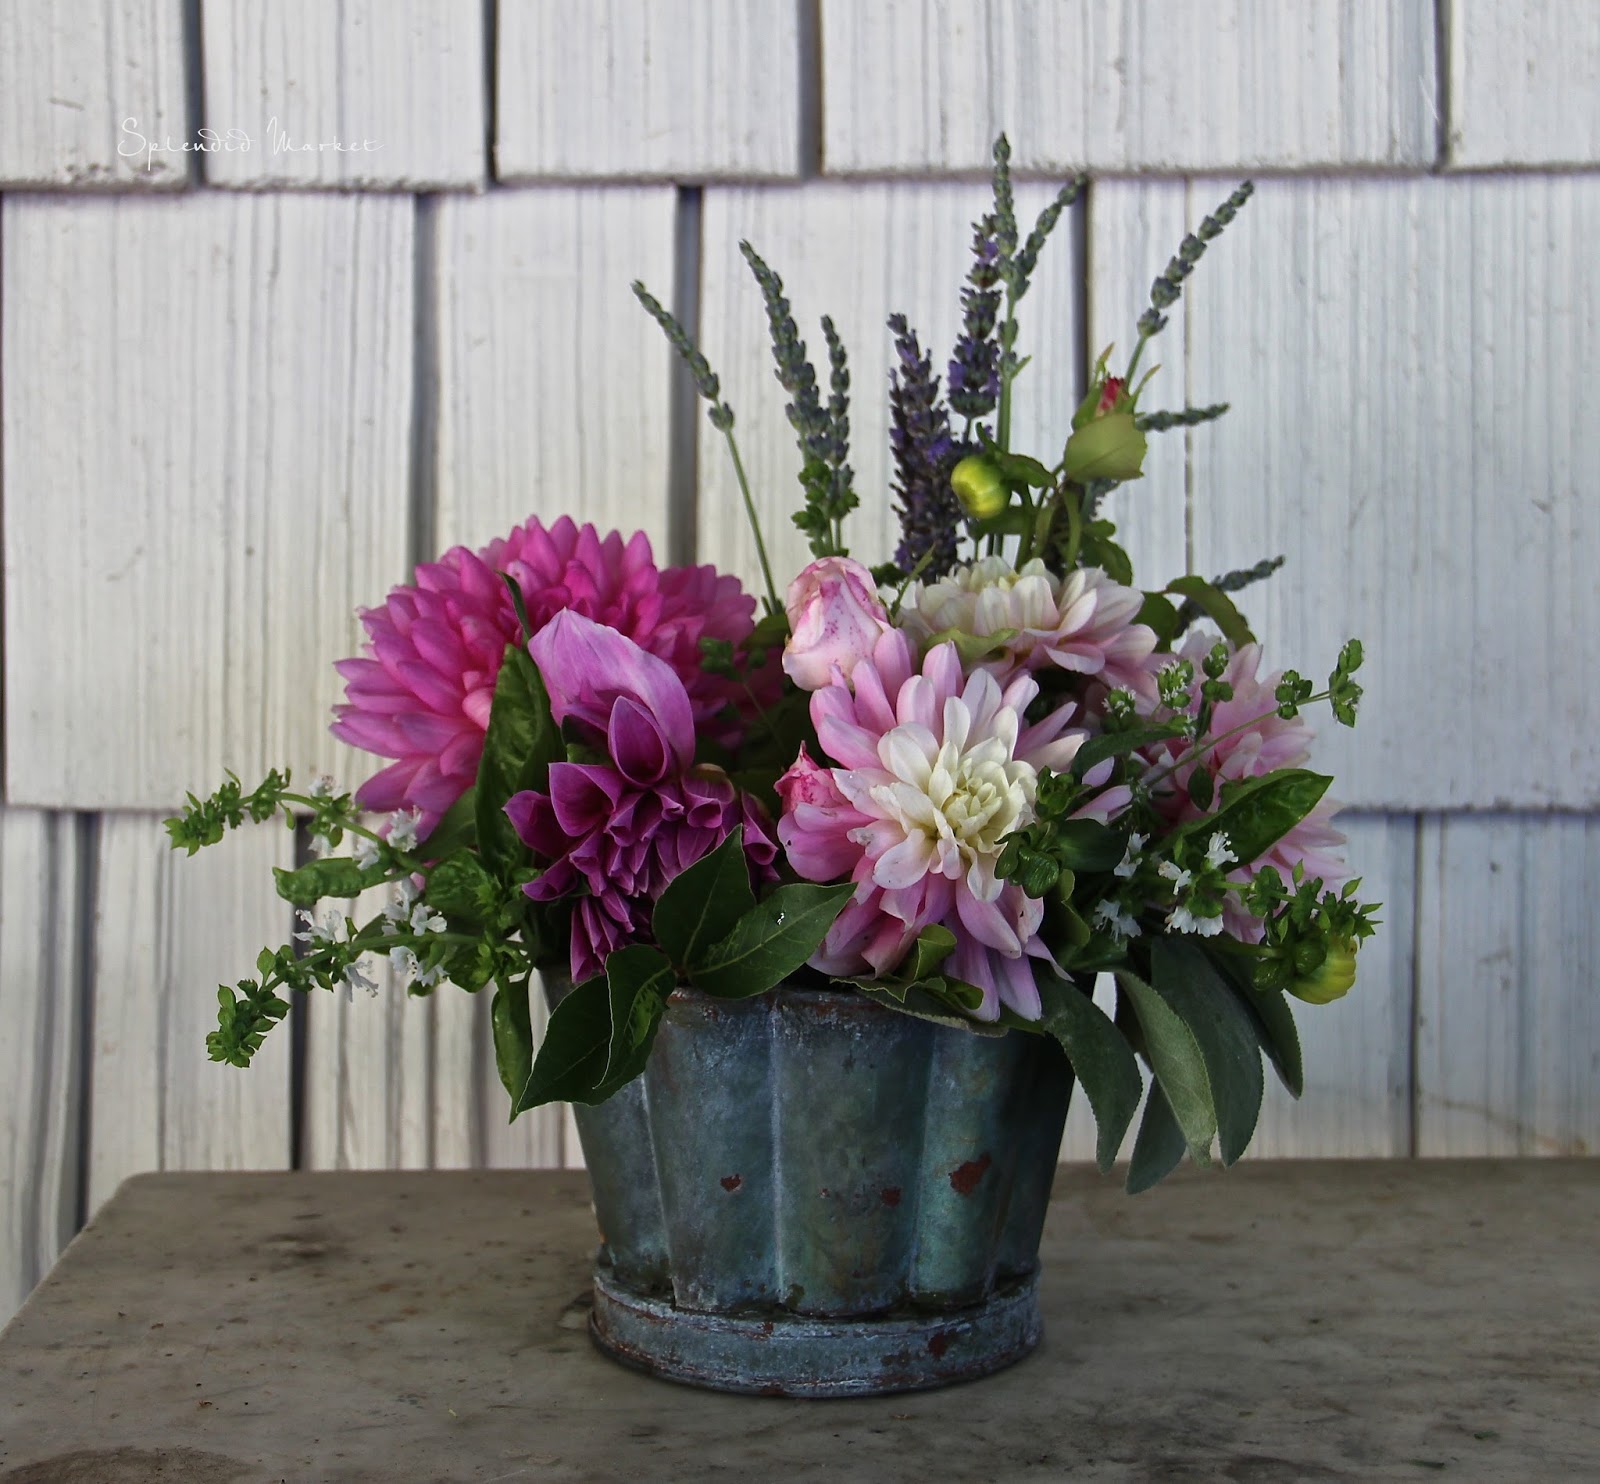
Powder Room Bouquet
I love the rich green patina on this small metal scalloped container I brought home from France. Conveniently, it has a fitted plastic liner so I don’t have to worry about leaks. It fits perfectly on the top shelf of the faux bamboo corner etagere that anchors our petite powder room.

Step 1: Greenery
I grow a lot of herbs in my beds so I can have them both for cooking and for flower arrangements. Not only are they beautiful, but I love the scents they give off as I work with them. Here I used sprigs of sage and bay laurel and then filled in with stems of oregano that has gone to seed.
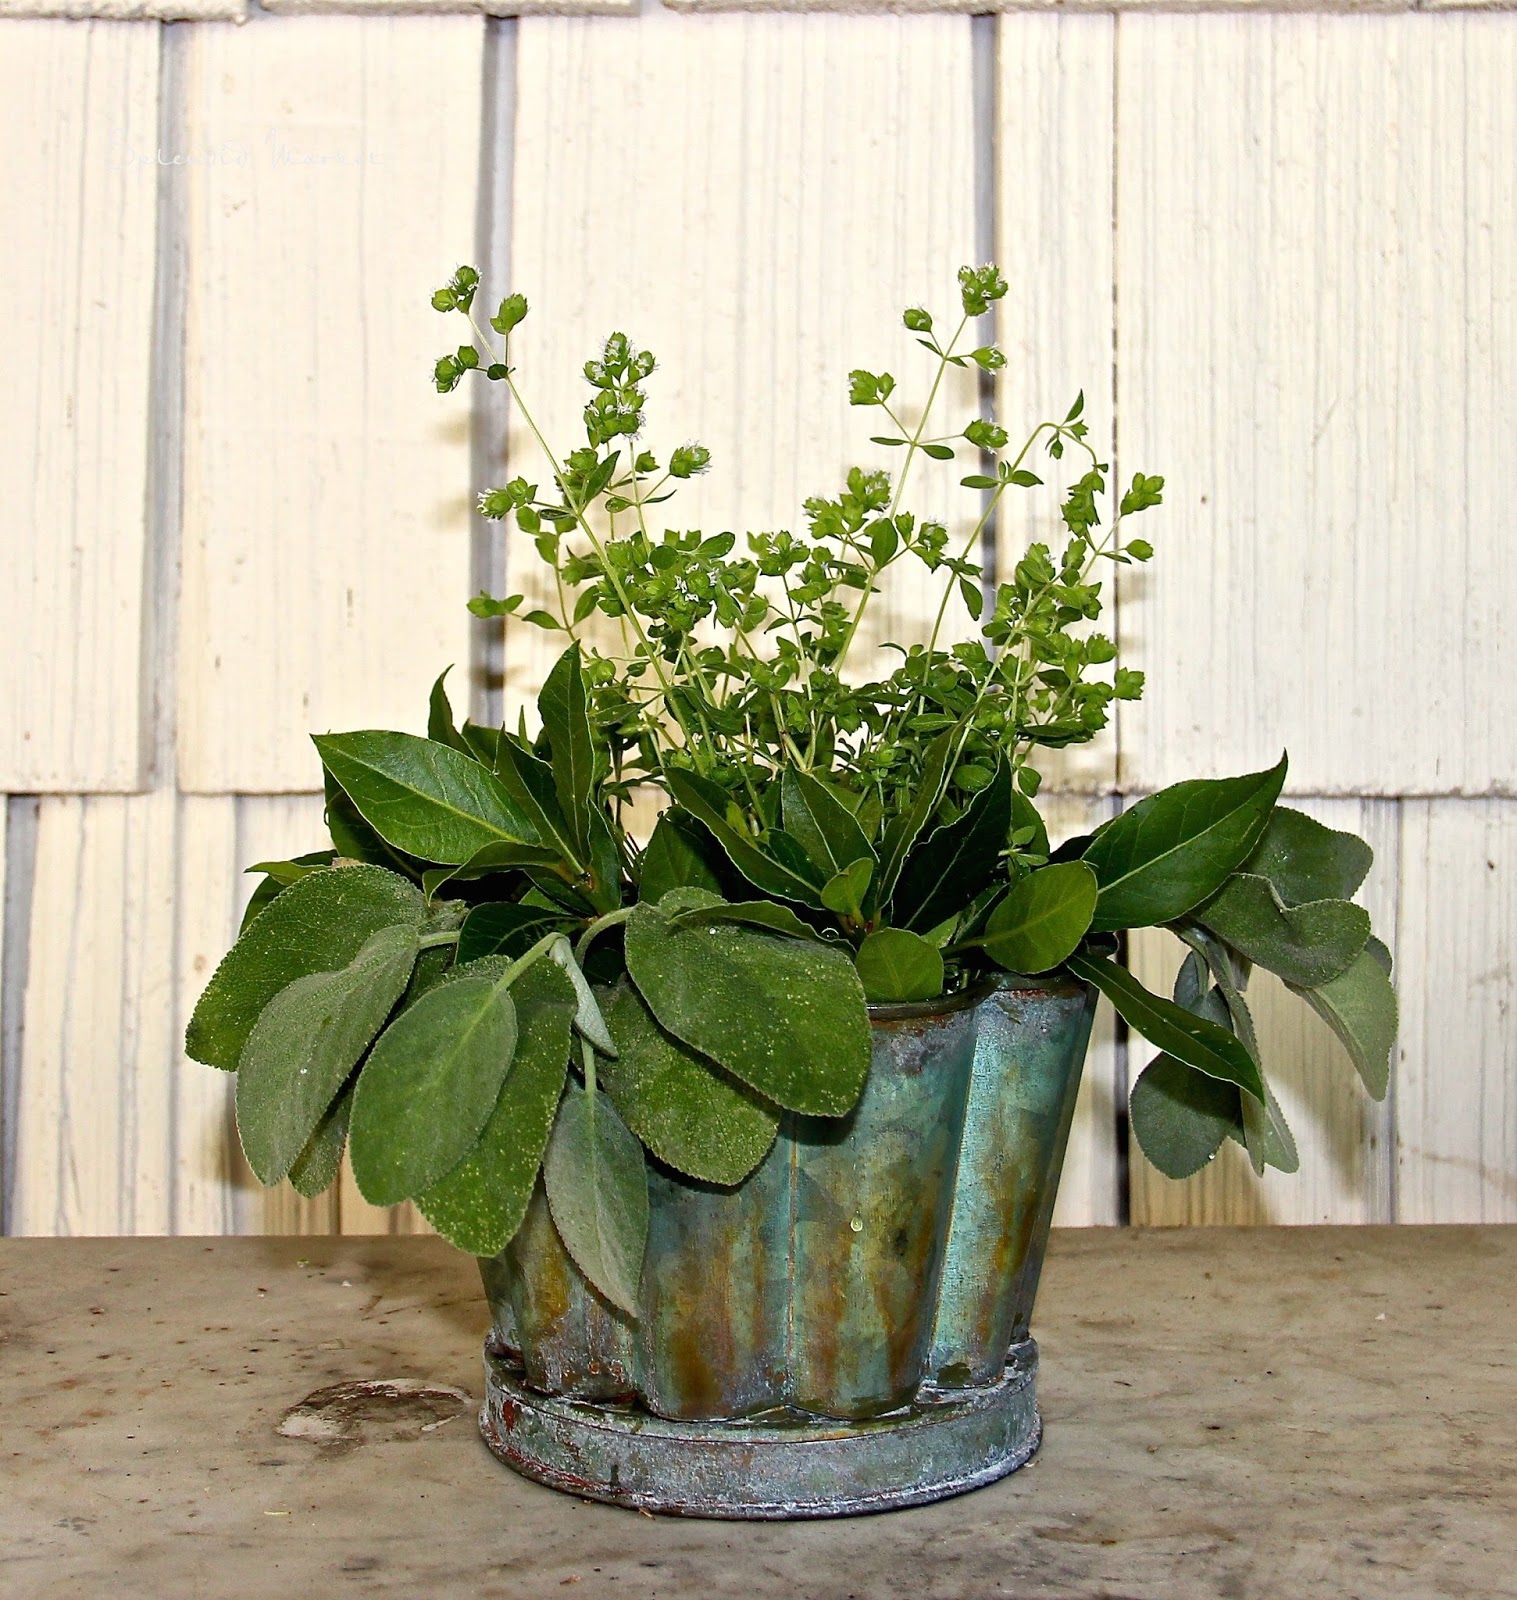
Starting with greenery also creates support for the flowers. Here’s an arial view of this container filled with greens. From here, it’s easy to see the gaps between the greens where you can slide in stems and they will be well supported.

Step 2: Predominant Flowers
Here, again, I used a mix of pink dahlias and sprigs of garden roses {this time pink speckled} at varying heights to reflect how they might look in the garden. To determine the heights I stand the stem on the table surface outside of the vase to see how it will look before trimming the stem at an angle for better water absorption.

Step 3: The Accent
As with the previous arrangement, I used a bunch of lavender for the accent, clumped together as they were in the garden.
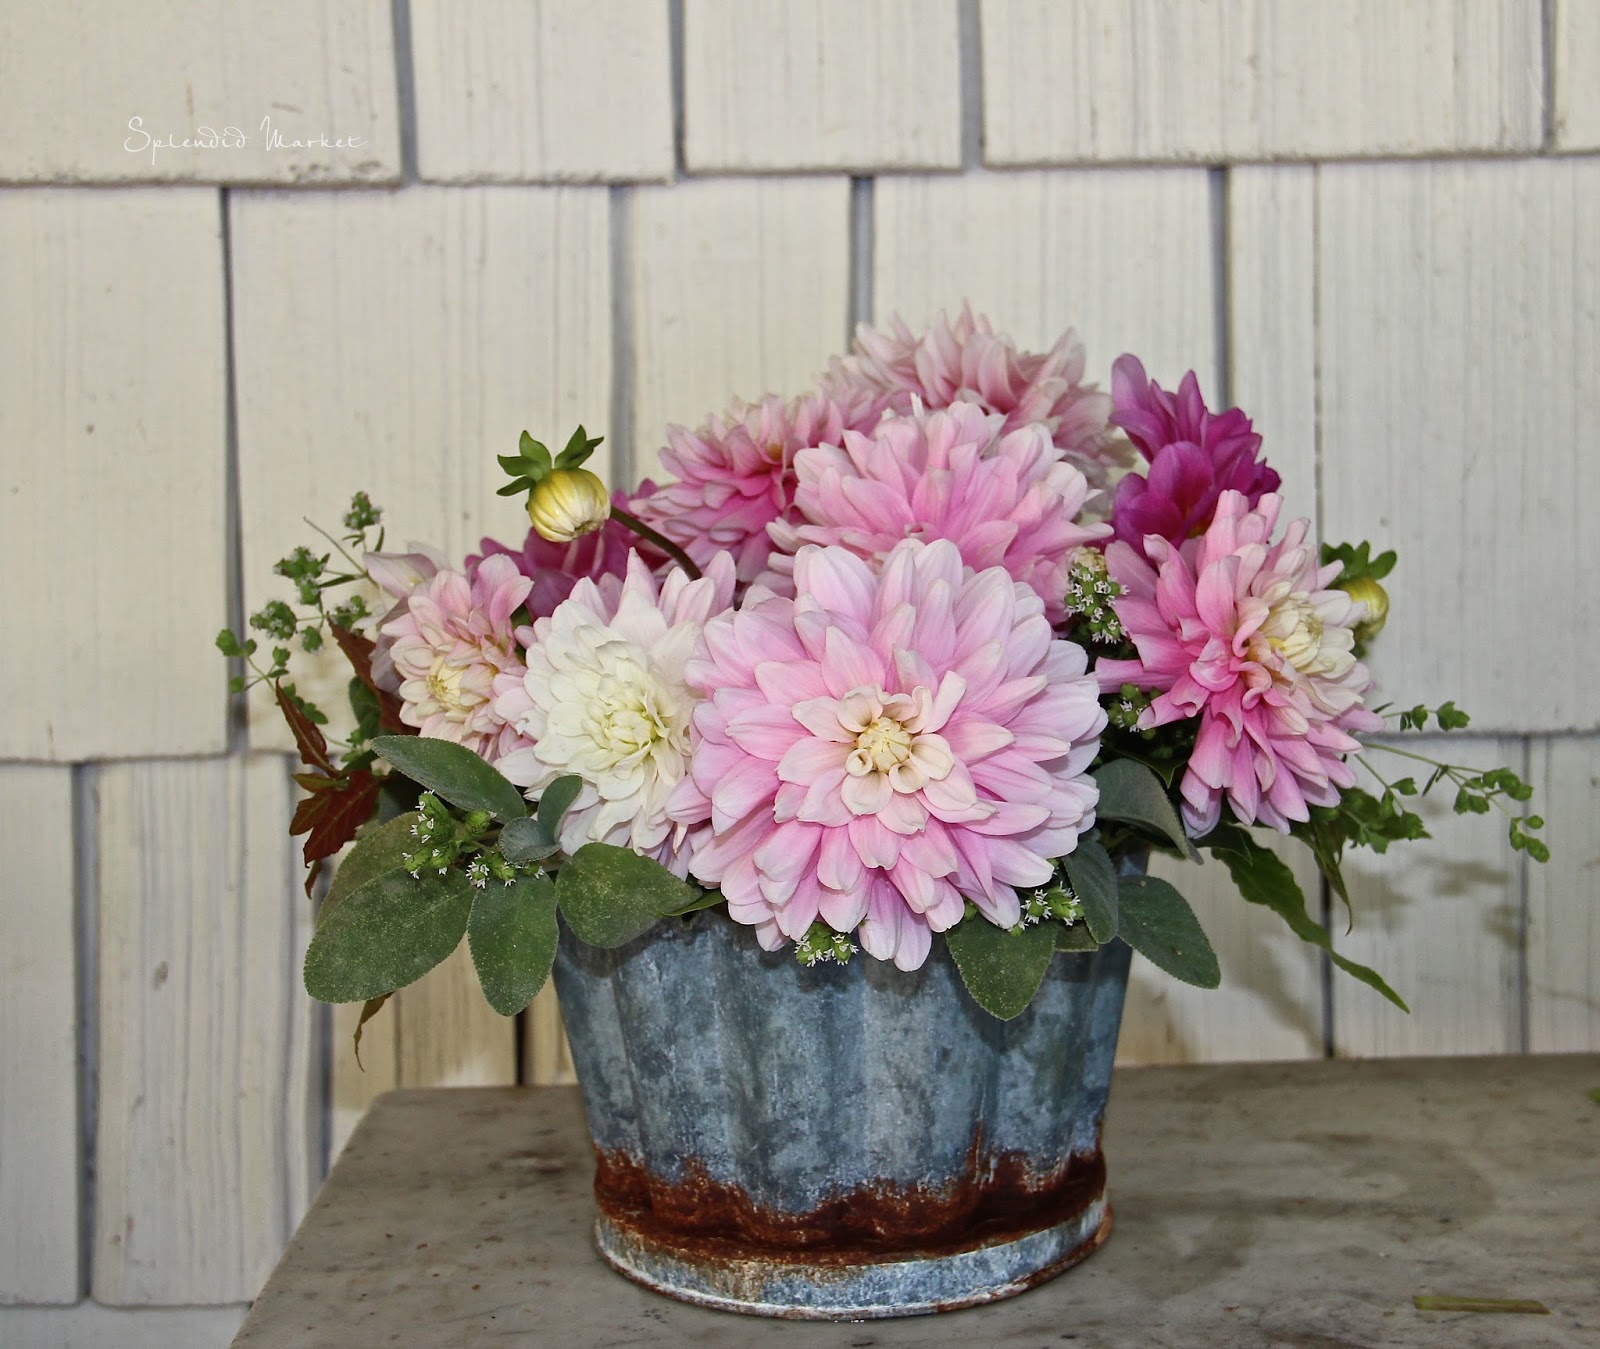
The final bouquet was on our lunch table, in a larger version of the scalloped metal vessel above, this one has a nice ring of rust around the base, that I kind of love.

Step 1: Greenery
The greenery here is sage, bay laurel, oregano & basil that have gone to seed, so they offer some small, soft white blooms.

Step 2: Predominant Flowers
The predominant flowers are all dahlias in this piece.
Step 3: The Accent
To break up all of those pink petals and add a little whimsy I brought in a chorus of Japanese Aneome. I love how the fresh greens buds and leaves bob above that bed of pink.

They also add nice height and broaden out the arrangement.
Alright, so there’s a review of my 1~2~3 splendid floral technique. I hope it inspires you to make a few fresh flower arrangements for your abode this weekend.
To see how I used this method to make this Fall bouquet, click on Bouquets made with ease and Autumn leaves
 |
| Autumn arrangements
To see how I used this method for winter arrangements click on Winter Holiday Bouquet.
|
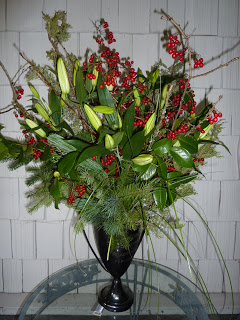 |
| Lodge look holiday bouquet |
To see a plethora of petal inspiration click on The Key to the Backroom where you’ll find all of the past posts on flowers and botany on Splendid Market, including many living and seasonal displays.
Now, don’t get lost in there.


Thank you Emily for this beautiful share, and thank you so very much for your visit and taking the time to comment my posting on my pottery line.
As for floral arrangements I most desire a beautiful arrangement in a container apposed to a vase.
You have created here soulfully.
Xx
Dore
Stunning!! I need to try your tips, although I don't think I have the talent you do! Hope you are having a great summer, Emily! xoxo